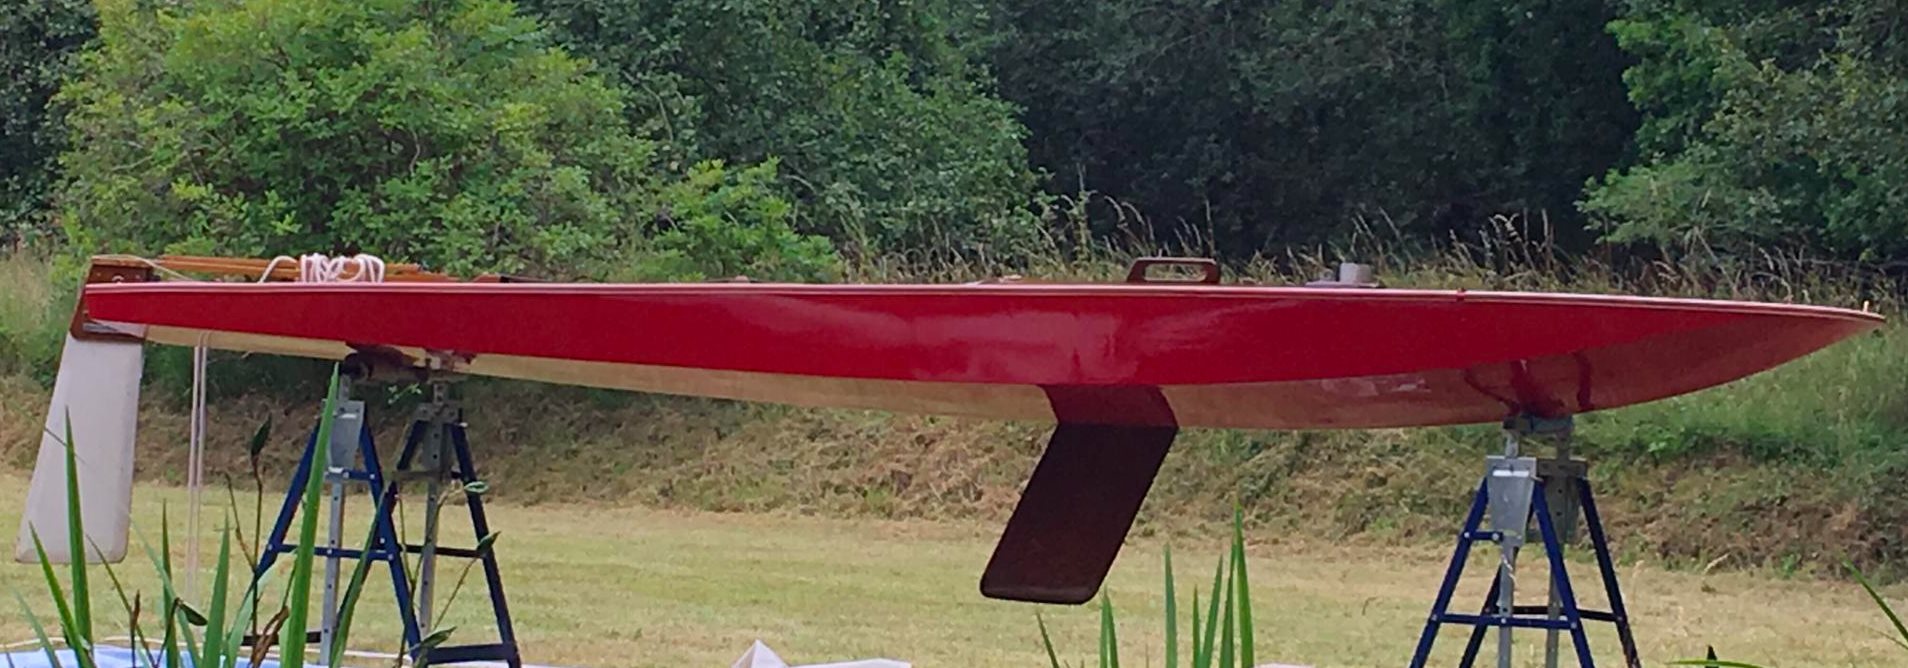

Andy Campbell has pulled together an excellent summary of how to go about restoring a Minisail, including making rudder and daggerboard.
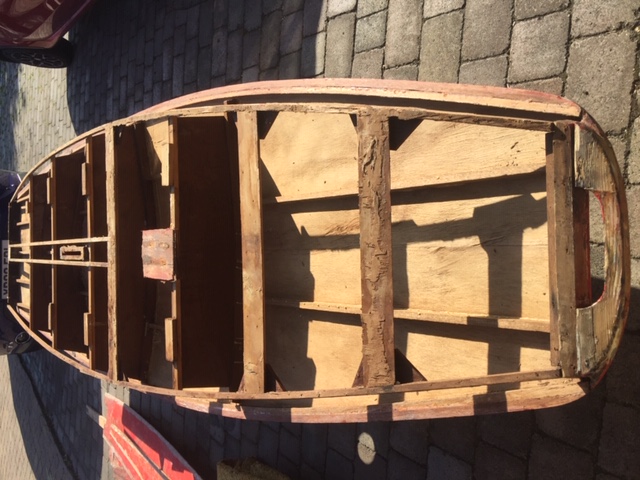
Some photos of Minisail 248, undergoing re-planking:
After about 4 months, where I have been managing only to spend about 3 hours a week working on 248, I have reached this point...
When I bought the Minisail there was just a small hole in the deck at the front where water had seeped through the boat cover.The then owner said that it should be fairly easy to repair and get her back on the water...
I set about removing the red paintwork around the hole, with a hot air gun only to discover that most of the hull at the front was covered in fibreglass. Steve Whitby advised that it was best to take the boat back to wood before restoring her, so I the stripped all of the fibre glass off, the paint work from the side sheets and the glass tape (?) covering all of the joints.
Too my dismay, this revealed many other holes and damp wood, so I decided to remove all of the hull, back to the, what I call skeleton, as per the photo above.Since this photo, I have now sanded all of the skeleton, to a point that I now feel ready to start re-building.
I have joked that the boat is somewhat resembling "Triggers broom", with much of the boat being replaced - however I am trying to keep as many of the original boat and fittings as I can, to try and retain some of its integrity.
Unfortunately I have had to relocate 248 into a friends garage, as we are having a new bathroom and kitchen installed - so work has been halted for now - but i am looking forward to start working on her again as soon as i can.
When I eventually get to launch her, she will be named "Dumbo Too". My father her who built the first kit built Minisail No 4, named his boat "Dumbo", as he thought she may look somewhat cumbersome, but actually flew (through the water).
Any advice would of course be much appreciated.
Thanks
Roger Llewellyn